This post may contain affiliate links. Please read our disclosure policy.
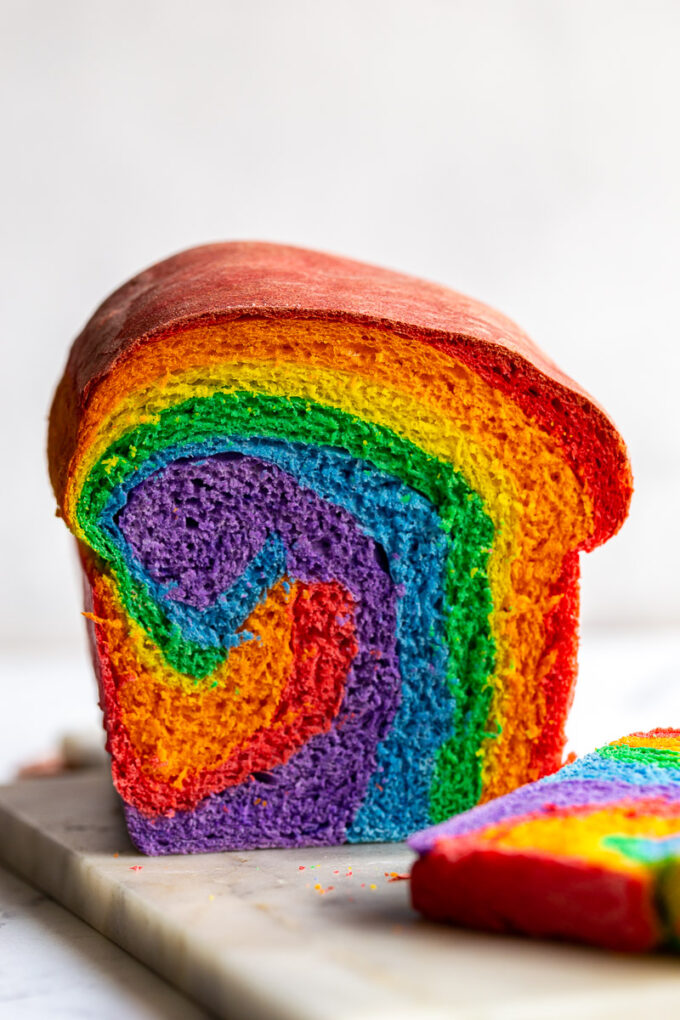
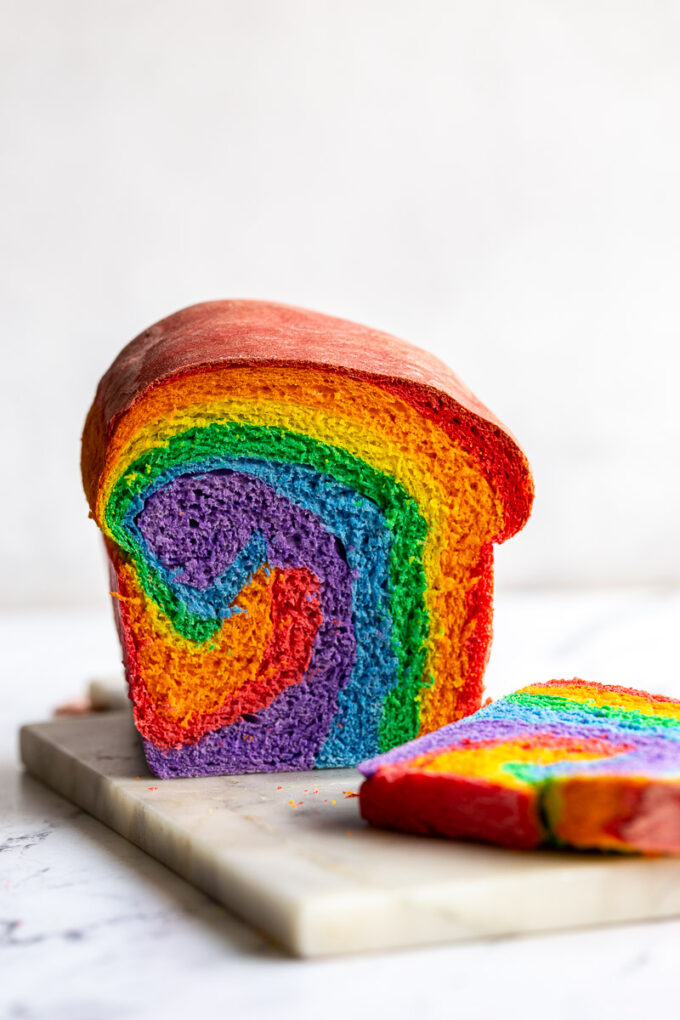
Celebrate the rainbow with this easy to make RAINBOW Bread! It’s a classic white bread recipe with a fun twist (literally!)!

I’ve celebrated Pride Month for MANY years but this is the first time that I’m celebrating it as a FULLY OUT gay woman and that feels really good :)
As part of that celebration, I’m posting a NEW rainbow themed recipe every single week this year starting with this tie-dye RAINBOW bread. Isn’t she beautiful!?:
Did you ever have bread like this as a kid? I remember seeing it at Kroger and begging my parents to buy it for me. I always thought it was SO cool. At a certain point in my childhood, I stopped seeing the bread in stores which was obviously very sad.
I’m super glad that I’ve been able to re-create it as an adult :)
The recipe itself is a classic white sandwich bread recipe but with a little food coloring to represent the colors of the rainbow. When I first set out to make this, I thought that it would be pretty difficult. However, besides being a little time consuming to mix in the colors, it’s a super easy recipe!

Food dye that I used:
I went around with a few different types of food dye for this recipe but decided that GEL FOOD coloring was ultimately the best for this bread. It results in a very vibrant color and is relatively easy to mix into the dough.
THIS is the exact one that I used from Amazon but other food gels would work as well.
If you end up making this recipe, please snap a photo and tag me on social media @foodwithfeeling!
Rainbow Bread

Ingredients
- 2 ¼ teaspoon active dry yeast, 1 packet
- 1 cup lukewarm water*
- 1 tablespoon honey*
- 19.5 oz all-purpose flour, about 4 ⅓ cups
- ½ cup lukewarm water
- 1 ¼ tsp fine sea salt
- 2 tablespoons honey*
- ½ tablespoon white vinegar
- 2 tablespoons unsalted butter, melted and cooled slightly
- Gel food coloring, I used red, orange, yellow, green, blue, and purple
Instructions
- In the bowl of a stand mixer, add in the 1 cup of water, 1 tablespoon of honey, and yeast. Stir gently and allow to sit for 10 minutes to activate the yeast. After 10 minutes, there should be foam at the top.
- To the bowl with the yeast mixture, add in the flour, ½ cup of water, sea salt, honey, vinegar, and melted butter. Using the dough hook, turn the stand mixer to low until a dough forms, about a minute. Turn the speed up 1 notch (3 on the stand mixer), and knead the dough for 5 minutes.
- Turn the dough out onto a floured surface and cut it into 6 even pieces (it doesn’t need to be exact).
- Working with one section of dough at a time, add a few drops of food coloring to the dough (I highly suggest wearing gloves for this part) and fold the dough over so that the food coloring is in the middle. Add 3 more drops (roughly) and fold the dough over again. Knead the dough for 5 minutes until the food coloring is fully combined and the dough is getting smooth. HERE is a link for how to knead dough. You can also do this in the food process, wiping down any excess food coloring in between colors.
- Repeat this step with the remaining 5 sections of dough. Lightly grease 6 different bowls and place the dough balls in the bowls. Cover and let rise for 1.5-2 hours or until doubled in size.
- Take each dough ball and, on a floured surface, press it out into an oval that’s roughly the length of your dough pan (8×4). Stack the colors on top of each other and press down to kind of seal them together. Roll the dough tightly, starting at one long end, until fully rolled up (see video for reference). Place the dough in a greased 8×4 loaf pan, seem side down, cover and let rise for 1 hour.
- 30 minutes before ready to bake, pre-heat the oven to 375 degrees F. Bake for 45-55 minutes or until the bread is browned on the top and reaches a temperature of about 195 degrees in the center.
- Remove from the oven and let cool before slicing open. Store in an air tight container for up to 5 days and ENJOY!
Video
Notes
Nutrition
Nutrition information is automatically calculated, so should only be used as an approximation.


Thank you for sharing this recipe. It was super easy to make! I added a little bit more honey to it cause I like it a bit sweet. My kids loved it and asked me to make more “magic rainbow bread”. 🤭
I’ve made this twice now and love it. We make it for communion bread for our Pride Sunday. I’d like to make it gluten-free so that those in our congregation who can’t have gluten can partake…. I’m wondering if I should try swaping the flour out for regular 1 to 1 gluten free flour or if I should try gluten-free bread flour? Since this recipe calls for regular flour and not bread flour I wasn’t sure the best swap to try out. Thanks.
honestly I don’t have a ton of experience with gluten free baking. BUT I would think a simple gluten free 1-1 flour should work well!